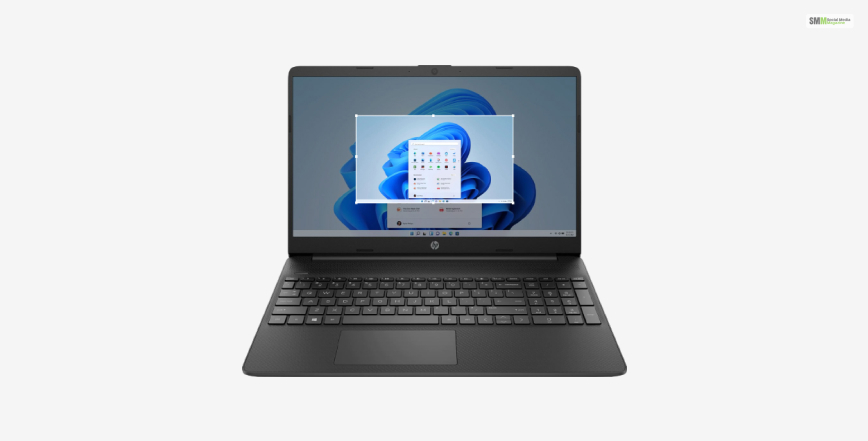
How to take a screenshot on HP laptop? – There are a variety of ways to take a screenshot in laptop or a desktop. The best way to do it is to use the Snipping Tool, which is a program already available on your computer to take screenshot in Windows. Just select the ‘New Snip’ option on the application and select the area you want to crop out.
Furthermore, to take a full screenshot (of the whole screen), you can press the screenshot shortcut key ‘Print Screen’ on your keyboard. Go to Microsoft Paint and press ‘Ctrl + V.” The screenshot will be pasted there. Save the file as File-type ‘jpg.’ Your screenshot image is complete now. However, to learn how to take screenshots in a laptop or how to take screenshots in pc in detail read on through to the end of the article.
On a side note, you can also check PowerShell version of your Microsoft Windows laptop or desktop by clicking on the link given.
How To Take A Screenshot On HP Laptop?

No matter whether you have an HP laptop or a desktop, it is essential to know how to take screenshot in Windows 10 or how to take screenshot in Windows 11. It can help to save the image of something important, an error, a document, a simple social media post, or anything else.
Taking a screenshot is really simple. All you need to do is follow some simple steps. Furthermore, you will also not need to download any extra software either. The following are the best ways that you can use to take screenshots on your HP laptop or desktop:
1. Take A Screenshot Of The Entire Laptop Screen
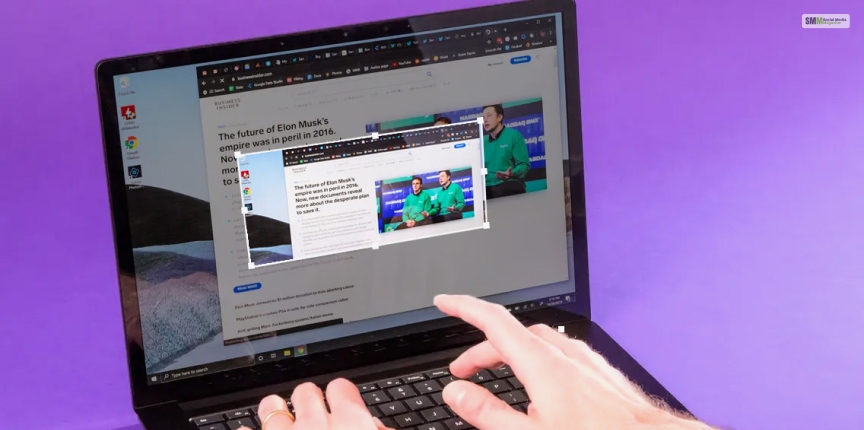
According to HP.com, “HP desktops and laptops run Windows or Chrome operating systems, which means you can snap screenshots via a simple keyboard click. Typically located at the top right of your keyboard, the Print Screen key may be abbreviated as PrtScn or Prt SC. This button will allow you to capture your entire desktop screen.”
The following are the steps you need to follow to take a screenshot of the entire laptop screen:
Step 1: Find the “Print Screen” or “PtrScn” button on the right side of your keyword of your HP Laptop. Press that key and it will take a screenshot of whatever is appearing on your laptop screen and copy it on the clipboard.
Step 2: Launch an image editing program. We recommend using ‘Microsoft Paint’ here.
Step 3: On the startup of the Paint app, press ‘Ctrl + V’ to paste the image screenshot into the app. You can save this image in the location that you prefer.
However, if you want to save a file directly on your HP computer, with a lesser number of hassles, then follow the steps mentioned below:
Step 1: Press the two buttons “Windows + Print Screen” together. This will take a screenshot of your entire screen and automatically save it on the Windows default folder.
Step 2: Go to Start, and open the Pictures folder of your HP computer. Here, you will find a sub-folder named ‘Screenshots.’
Step 3: Open the ‘Screenshots’ folder, right-click on it, and open the file with Paint. After that, you can save the image file like before, as per your needs.
2. Taking A Screenshot Of A Part Of The Screen
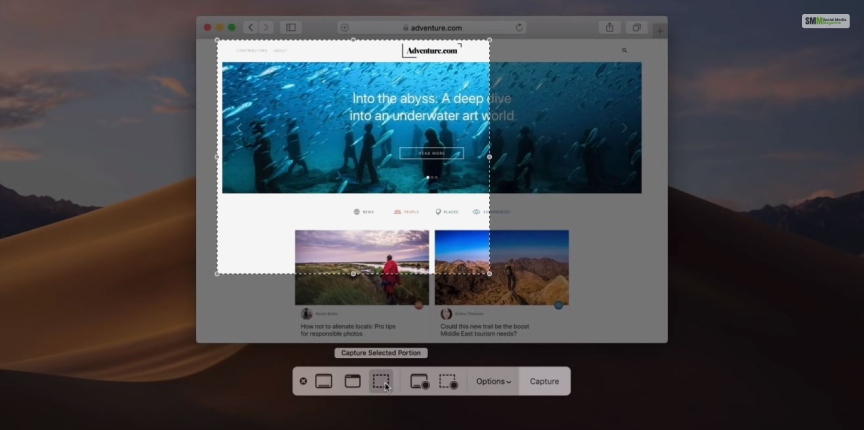
The following are the steps you need to follow to capture a particular part of your screen:
Step 1: Press the three keys together, ‘Windows + Shift + S,’ present on your keyboard. This will open the snipping tool in the background. Once you do that, your mouse pointer will become “+.”
Step 2:Select the area you want to capture by dragging the mouse accordingly, as per the image you want to capture.
Step 3: After you have selected the area, your screenshot will be copied and saved on your clipboard. You can then paste it on the Paint app by clicking ‘Ctrl + V.’ Once you get the image, you can save the file from that image editing app.
3. Take A Screenshot Of An Active Window
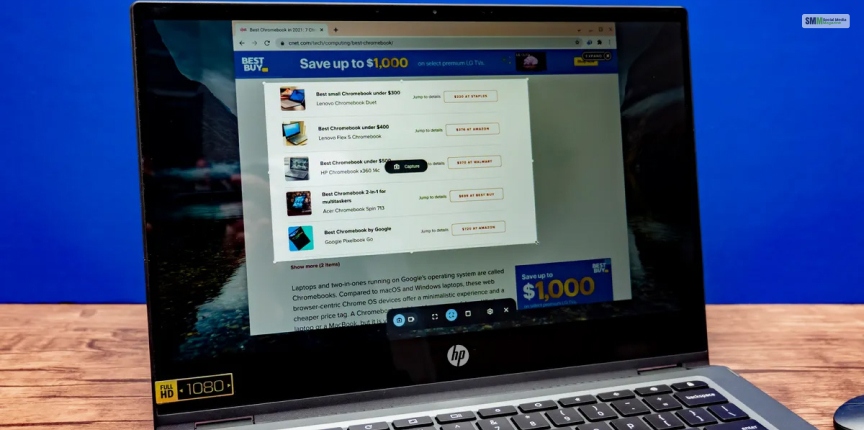
An active window is something that is on the front at the moment. That is the one you have selected of late. To select and capture only the active window on your screen, follow the steps that are given below:
Step 1: Open any application window on your HP laptop or your computer.
Step 2: Press the two keys together, that is, ‘Alt + Print Screen’ on your keyboard. This will capture and copy the image of the active window on your laptop’s clipboard.
Step 3: Open an image editing application. The best and simple one is Paint yet again. Press ‘Ctrl + V’ on the app, and it will copy the image. Save the image file on the location where you prefer as type ‘jpg.’
4. Using The Snipping Tool To Capture A Part Of Your Screen
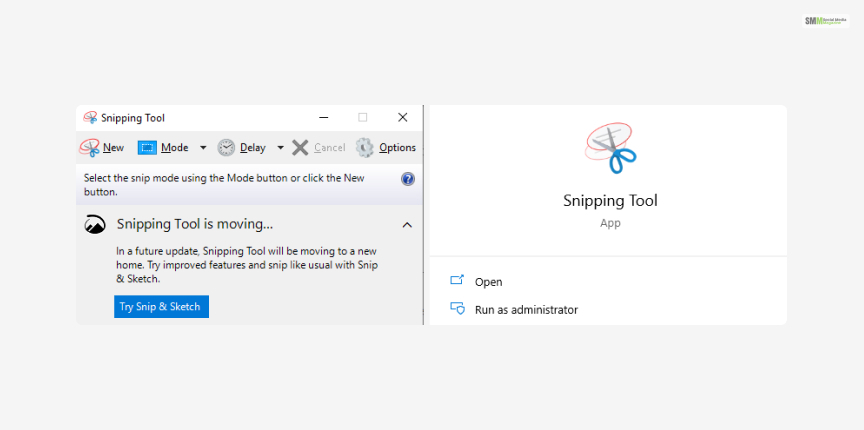
According to HP.com, “Whether your laptop operates on Windows Vista, Windows 7, 8, or 10, the snipping tool is an excellent integrated feature that allows you to select any-size portions of your screen for instant grabbing. Since all Windows desktop computers come equipped with the snipping tool, the application lives within your start menu.”
Here is how to use Snipping Tool to crop an image:
Step 1: Open the snipping tool from the Windows Search.
Step 2: Just select the ‘New Snip’ option on the application. This will fade out the screen and change the mouse pointer to ‘+.’
Step 3: With the help of the mouse pointer, select the area you want to crop out. This will open the image on the Snipping Tool. Save the file as per your needs.
Summing Up
Hope you now have learned four different answers on how to take a screenshot on HP laptop. There are other ways as well, but you will need a third-party app to complete the screenshot. If you think the article benefitted you in some way, consider sharing the article with others as well. Share with us other ways to take a screenshot, if you know, in the comments section below.
Read Also:
- Does Facebook Notify Screenshots?
- Does Instagram Notify When You Screenshot?
- 5 Methods How To Screenshot Snapchat Without Them Knowing In 2023
The post How To Take A Screenshot On HP Laptop? – A Few Simple Steps appeared first on Social Media Magazine.
